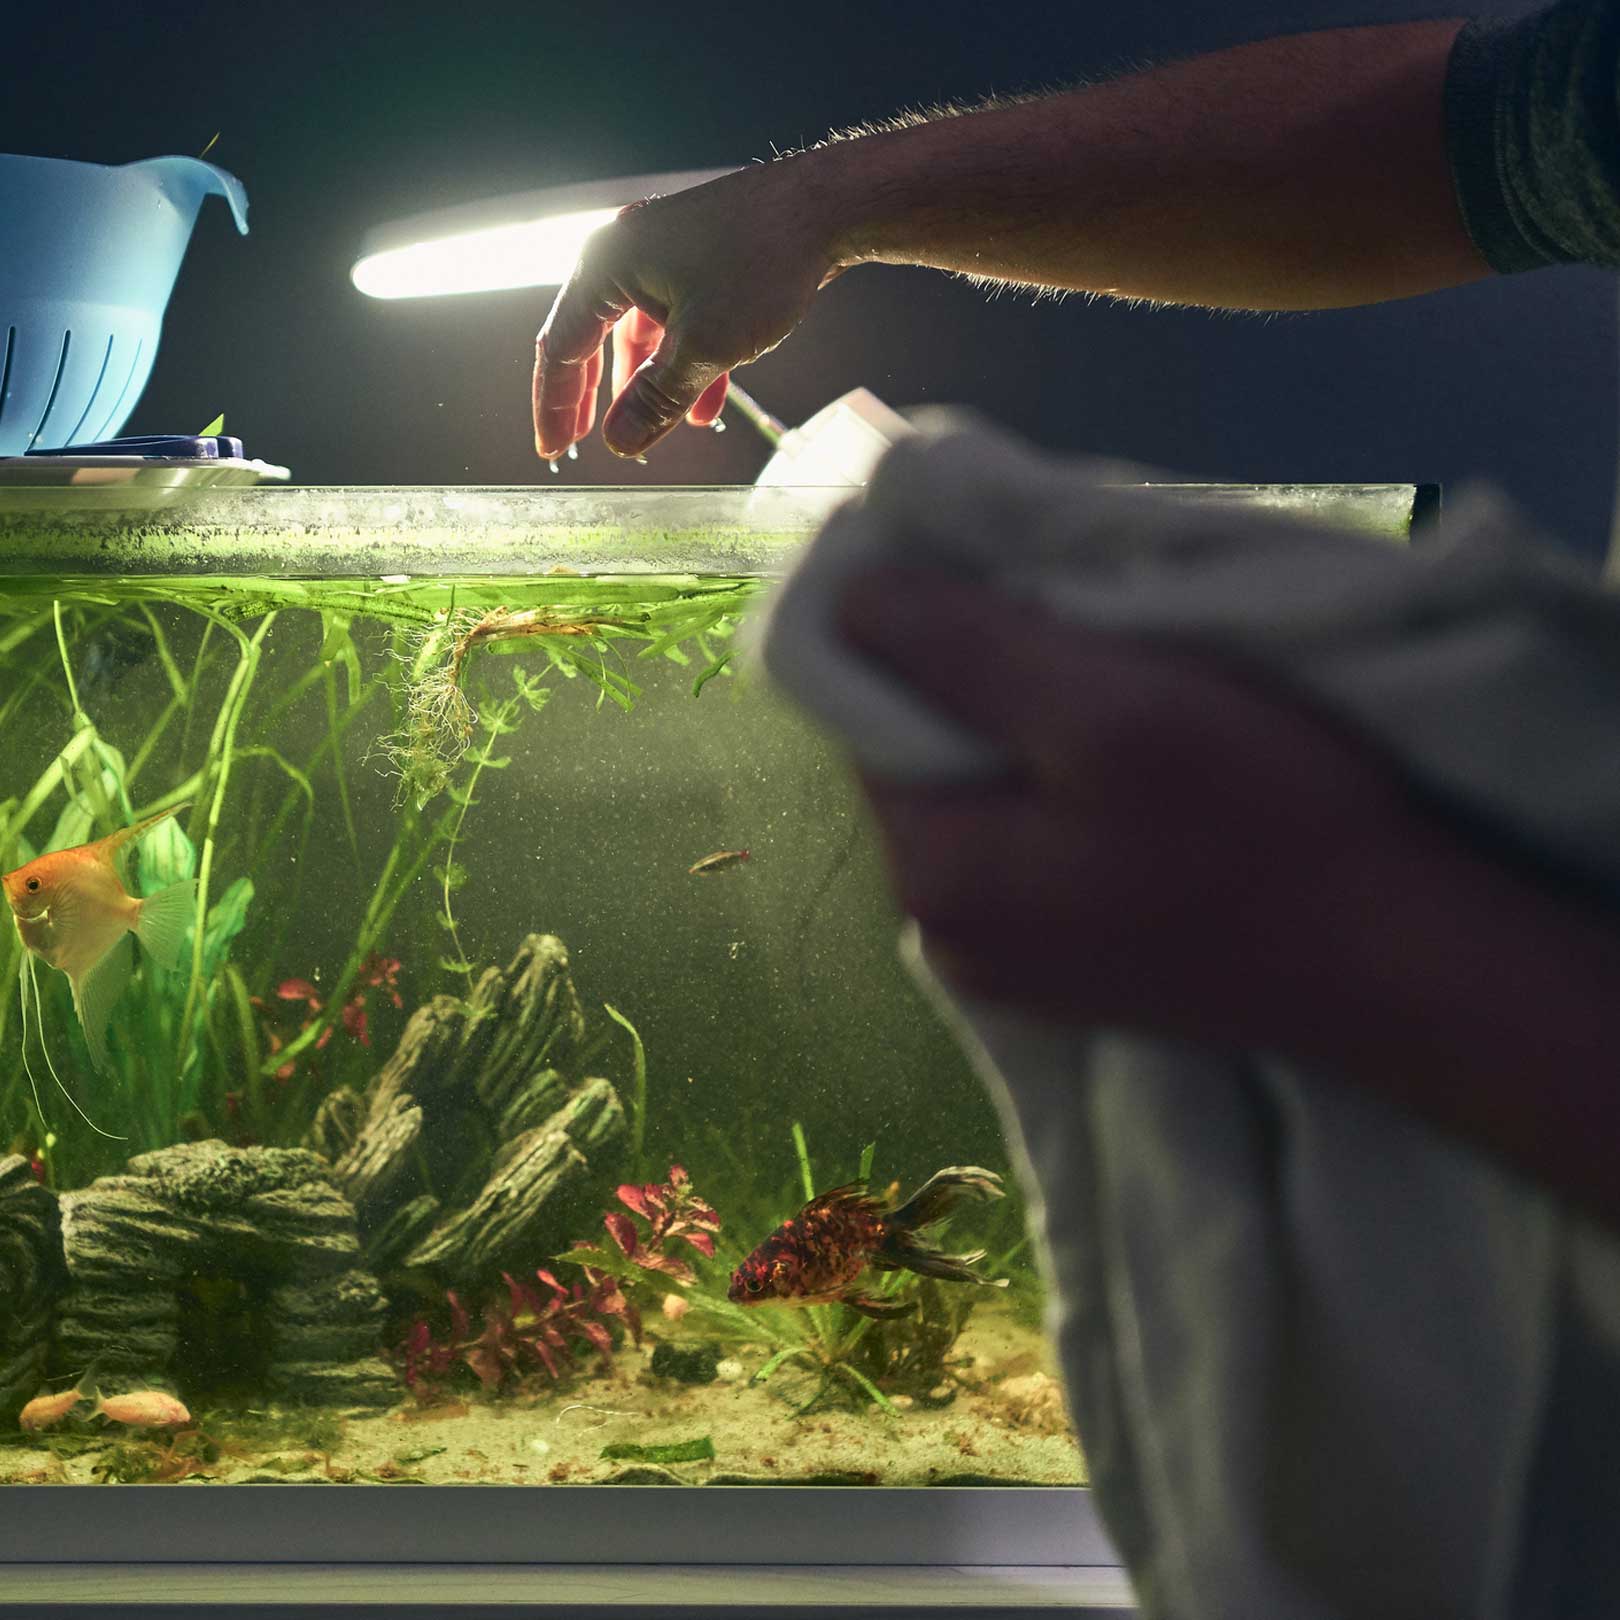
How to Do a Water Change in Your Fish Tank: A Step-by-Step Guide
Maintaining a healthy and clean environment for your fish is crucial for their well-being, and regular water changes are a key part of that maintenance. Here’s a simple, step-by-step guide on how to change the water in your fish tank.
Why Regular Water Changes are Important
Water changes help to:
- Remove waste products and toxins
- Maintain the balance of nutrients and minerals
- Keep the water clear and oxygen-rich
- Promote the overall health and longevity of your fish
What You’ll Need
Before you start, gather the following supplies:
-
- A clean bucket or container specifically for aquarium use
- A gravel vacuum or siphon
- Water conditioner
- A thermometer
- A towel for any spills

Step-by-Step Guide
1. Prepare the New Water
Fill a clean bucket with tap water. Make sure the bucket is designated for aquarium use only to avoid contamination from household chemicals. Add a water conditioner to neutralize chlorine and other harmful chemicals in the tap water. Let the water sit for a few minutes to ensure the conditioner has time to work.
2. Match the Temperature
Use a thermometer to check the temperature of both the new water and the water in your tank. It’s important to match the temperatures as closely as possible to avoid shocking your fish. You can adjust the new water’s temperature by adding a little warm or cold water.
3. Turn Off Equipment
Before starting the water change, turn off any electrical equipment such as heaters, filters, and air pumps. This is a safety precaution to prevent any accidents.
4. Siphon the Old Water
Place the gravel vacuum or siphon into the tank and start the siphoning process. You can do this by either using a pump or manually creating suction. Siphon out about 20-30% of the tank’s water into your bucket. While siphoning, move the vacuum around the gravel to remove any debris and waste.
5. Dispose of the Old Water
Dispose of the old tank water in an appropriate place. It’s often best to pour it down a drain or use it to water plants, as the nutrients in the water can benefit them.
6. Add the New Water
Slowly pour the conditioned and temperature-matched new water into the tank. Pouring it slowly helps to avoid disturbing the substrate and decorations. You can use a small container to add the water gently or place a plate on the gravel and pour the water onto the plate to minimize disturbance.
7. Turn Equipment Back On
Once the new water is in the tank, turn your heater, filter, and other equipment back on. Ensure that everything is working properly and that the water flow and temperature are stable.
8. Monitor Your Fish
After completing the water change, keep an eye on your fish for a while to make sure they are not showing any signs of stress. This can include erratic swimming, hiding, or changes in color.
Tips for a Successful Water Change
- Consistency is Key: Regular water changes, ideally once a week, are more effective than large, infrequent changes.
- Avoid Overfeeding: Overfeeding your fish can lead to more waste and the need for more frequent water changes.
- Test Water Parameters: Regularly test your tank’s water parameters to keep track of ammonia, nitrite, nitrate, and pH levels.
By following these steps, you can ensure that your fish/shrimp tank remains a healthy and stable environment for your aquatic pets. Regular water changes are a simple yet vital part of fish keeping, contributing to the health and happiness of your fish/shrimp.
